Following Apple’s WWDC 2024, the annual developer celebration, many rush to download the beta versions of operating systems and Xcode to experience the latest features. However, this introduces a dilemma: it generally takes over a month to transition from beta to the official release during which apps cannot be submitted through Xcode-beta.
To overcome this, developers might retain an older macOS version on one of their machines specifically for app submissions or run multiple systems. A few years ago, Apple introduced Xcode Cloud, which I used to address this very issue successfully.
Procedure:
Open your project in Xcode and press ⌘+9 to open the sidebar’s report page.
Click on ‘Cloud’ to access the Xcode Cloud guide.

Follow the guide, which includes selecting a product and authorizing Xcode to access your GitHub repository.
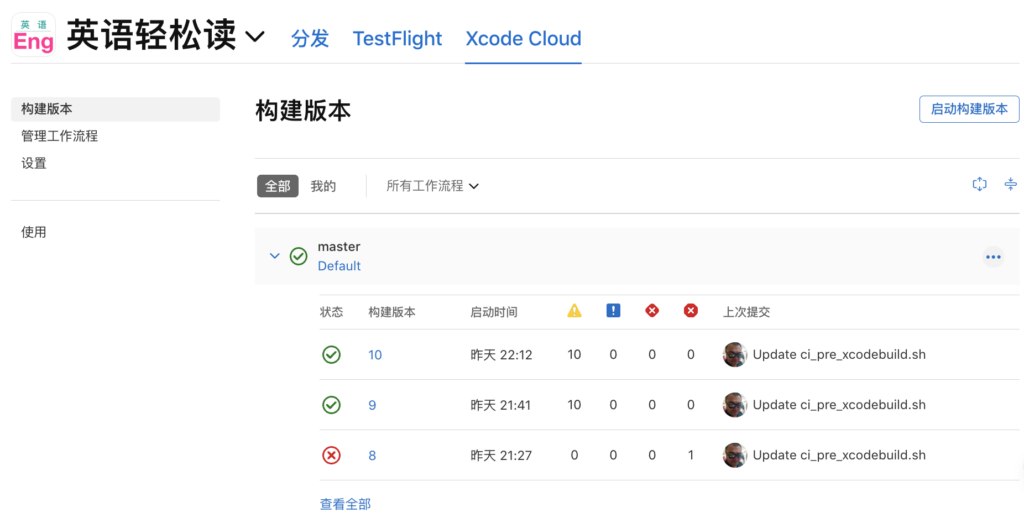
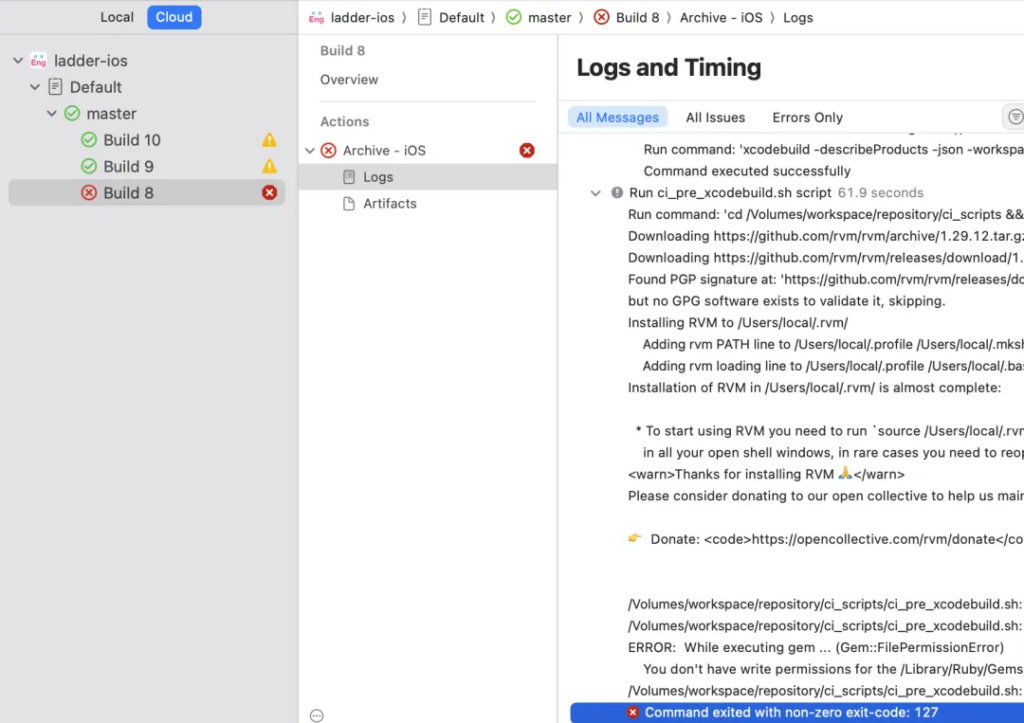
Upon completion, the Cloud page will display a build history with indicators for successful and failed builds.

Typically, code pushed to GitHub triggers an automatic build, familiar to those experienced with other CI systems. Manual builds can also be initiated directly within Xcode.
You also can do manual build from your app’s App Store Connect page.

However, direct builds often fail due to dependencies managed by CocoaPods or Carthage, as code pulled from GitHub doesn’t include these libraries. My solution involves custom build scripts, which are straightforward if you are familiar with other CI systems.
Xcode Cloud Build Process:

- Create a temporary environment
- Clone the code
- Execute a post-clone script to process the code after cloning
- Resolve dependencies
- Run pre-Xcodebuild scripts
- Execute the xcodebuild command
- Run post-Xcodebuild scripts
Custom scripts are required for steps 3, 5, and 6. For instance, handling CocoaPods dependencies can be integrated into either the post-clone or pre-Xcodebuild script. The following is an example of a script that successfully handles CocoaPods:
#!/bin/bash
\curl -sSL https://get.rvm.io | bash -s stable
source /Users/local/.rvm/scripts/rvm
rvm install 2.7.2
rvm use 2.7.2 --default
gem install cocoapods
pod install
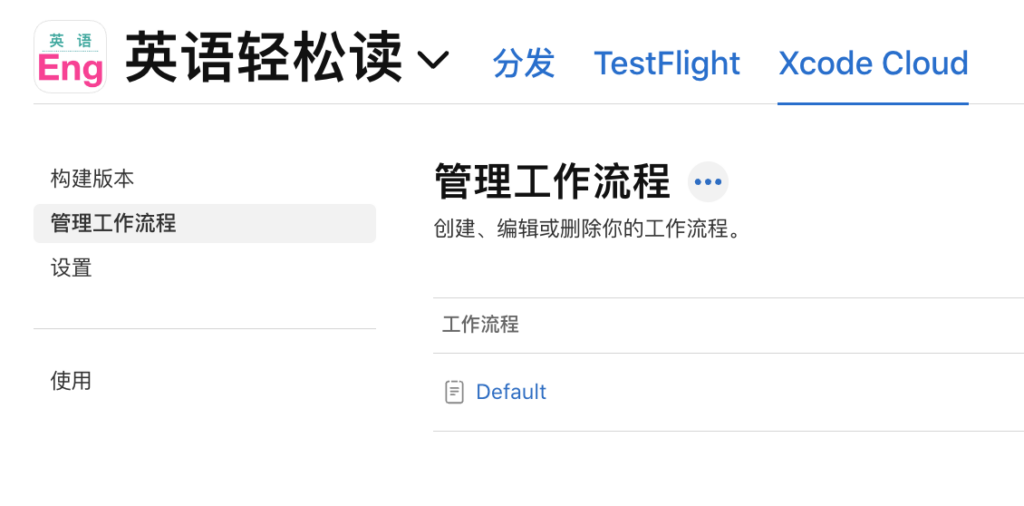
Ensure to make the script executable with chmod +x ci_pre_xcodebuild.sh before pushing it to Git. Finally, in the App Store Connect’s Xcode Cloud page for your app, select ‘Manage Workflows’.

And adjust settings to automatically submit successful builds to the App Store, TestFlight, or for official release.

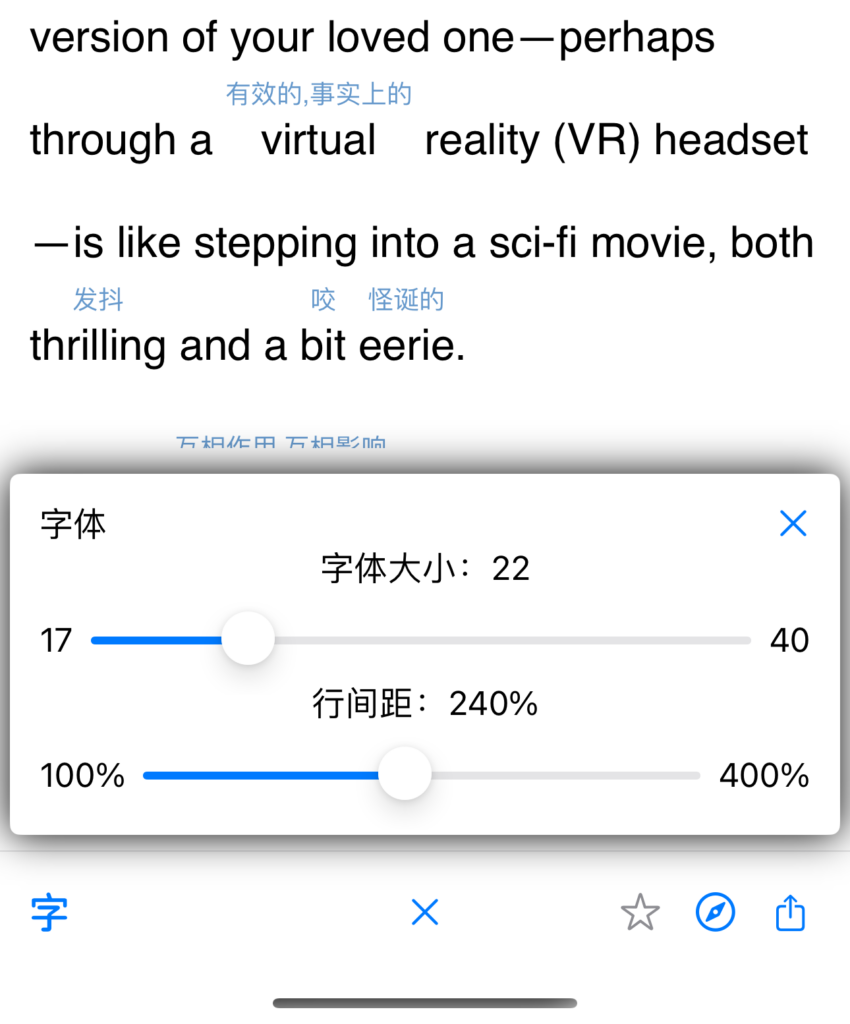
My recent app, “Easy English Reader,” developed using Xcode-beta and built with Xcode Cloud, successfully passed App Store review. This version included a feature for adjusting article line spacing.

Debugging Failed Builds:
If a build fails, go to the report page in Xcode, select the failed build, and view the logs to identify issues and adjust your build scripts accordingly.

References:
